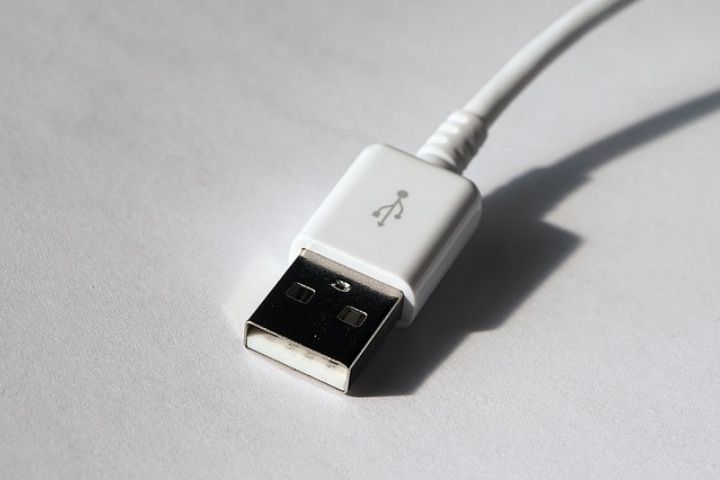
Surely on more than one occasion you have heard about USB debugging , which is simply allowing your computer to have the ability to connect directly to your Android mobile and thus be able to transfer information between devices.
It should be noted that USB debugging is precisely the key to be able to install new software on the terminal, such as a new version of the operating system or perhaps root and flash the mobile or perform any other type of task from a computer on the smartphone. or tablet. So let’s learn a little more about this function.
Table of Contents
What Is USB Debugging?
If you still do not really know what USB debugging consists of, first of all you will have to know that it is a word that comes from “Debugging” which means the search process and above all the solution of errors that may exist in any program . of software .
For example, all the applications that you have on your Android mobile were developed for the most part in software called Android Studio and that was created from a computer. But to be able to transfer them to a mobile phone, you need to connect the terminal to the PC and have debugging activated, since with this the code will be executed correctly.
In other words, it is a rather special function, since if USB debugging is not carried out, the Android mobile cannot be reliably connected to a PC .
It may be that until now you have not needed to activate USB debugging on your mobile , since you will not know what it is for, so the answer is basically a tool called Android Debug Bridge and that is used to be able to change some part of the system operating or application that you have on your Android mobile.
In other words, you will have the ability to open the root door and thereby be able to modify your terminal, since it is something that undoubtedly attracts the attention of many.
Also Read : All You Need To Know About Open Source Programming
Learn How To Activate USB Debugging On Your Mobile
If you have reached this point, it only means that you are interested in knowing how USB debugging is activated on your smartphone, simply to transfer the photos and videos of your last trip to store them on your hard drive and save a copy, or simply have on your computer the documents or notes that you have created from the terminal.
So in order to activate USB debugging you must activate the Android development options , which if you do not have them activated yet you can use them by going to Settings, About Device and after that in the section called Compilation Number, you must press for 7 repeated times, until a message confirming the activation is displayed on your screen.
After that you must return to the settings menu and there you will see the development options. You must navigate down and you will see a tab called Debugging, you will have to enter there and click on the only option that is available and with that you already have it activated.
Once this simple process is finished, all you have to do is connect the USB cable to your device and computer to start working on what you want.
Revoke USB Debugging Authorization
On many occasions there are many users who connect their mobile to the computer of a friend or a client to whom we send a file to be able to work on it, so surely if you do not know the person very well you will want to revoke the debugging authorization USB after the process is complete.
So there are two options for this . The first one is to repeat the above process and move the button in the debug to its origin site before disconnecting the terminal from the computer to which the document was sent.
While the second option is to enter the development options again and once inside look for the option that is called revoke USB debugging authorization and with this it will not only disconnect from the last PC to which it has been connected but also everyone to those who have been authorized for purification.
